Gathering at the table for Thanksgiving, is one of our favorite times of year. Not only do our husbands get to shine (in the kitchen…’cause truth be told, they do most of the cooking) but we get to TABLESCAPE! What is “tablescaping” you ask? It’s decorating your table just like you would your room, using color, patterns, textures, fabrics and dishes. We love to brainstorm ideas, colors, themes and templates. Each year we try to switch it up so our guests are surprised and feel valued, knowing we took the time to create a beautiful table.
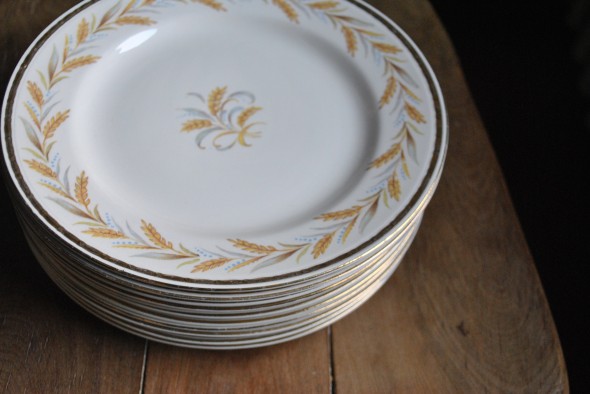
About a month ago, I was at a thrift store and found these.
The wheat on these vintage plates, was the inspiration for my Thanksgiving Table this year.
Now, I’ve had an idea brewing in my head for some time. After many years of catering, I know the value of adding layers to a table. It adds visual interest and allows for more decorating props to be added. But, more important than adding layers, I want to be able to see my guests across the table. I think there are times and meals where a decadent, high reaching centerpiece is in order (like at a wedding where the room itself is massive) but at my table, I like the atmosphere to say, “Let’s have a lingering conversation.”
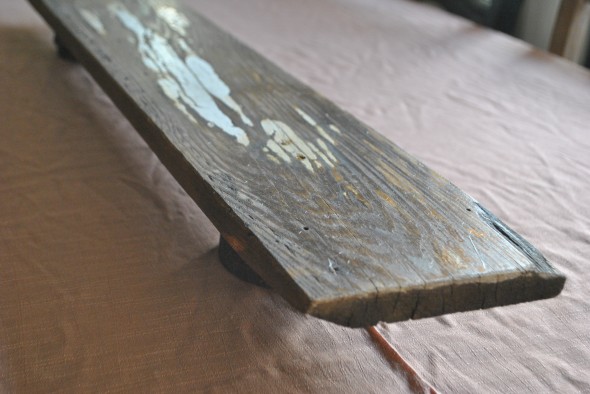
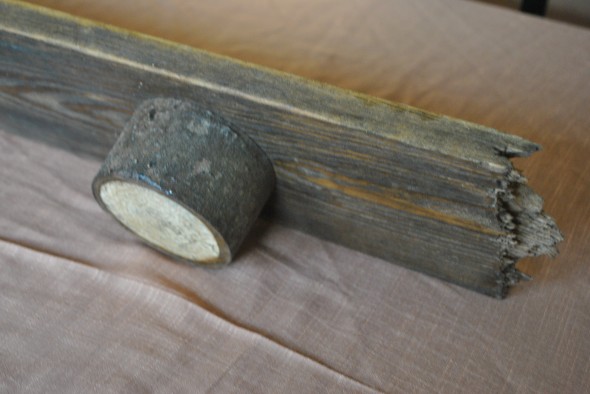
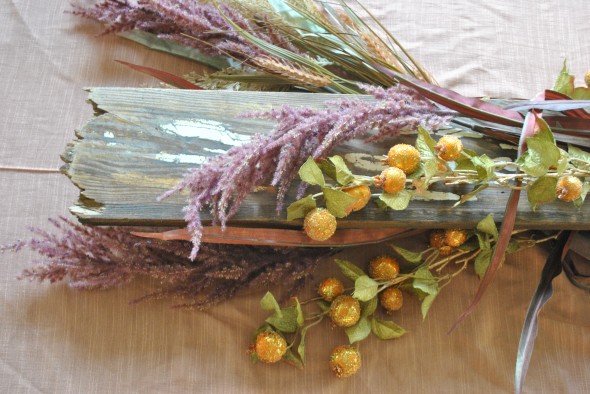
So, I sketched something up, poked around in my back yard wood pile and pulled a few pieces out for my husband. He made me a slightly elevated, wooden runner for my table.
I like that one edge was unfinished and jagged. I find I gravitate towards having a polished look, but with elements of unfinished, broken, rustic and wrinkled. Chris Ann and I both are not fans of ironing napkins, unless it’s for a super formal occasion.
Back to the centerpieces…
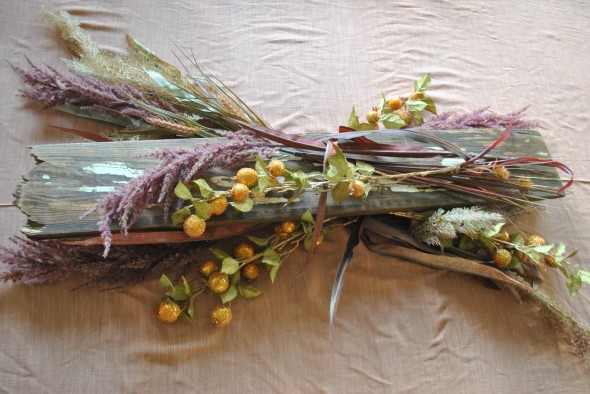
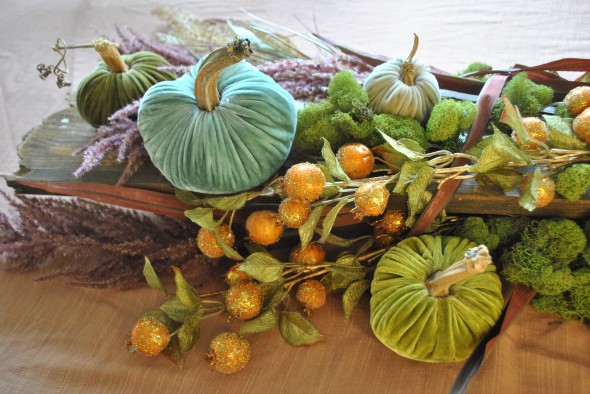
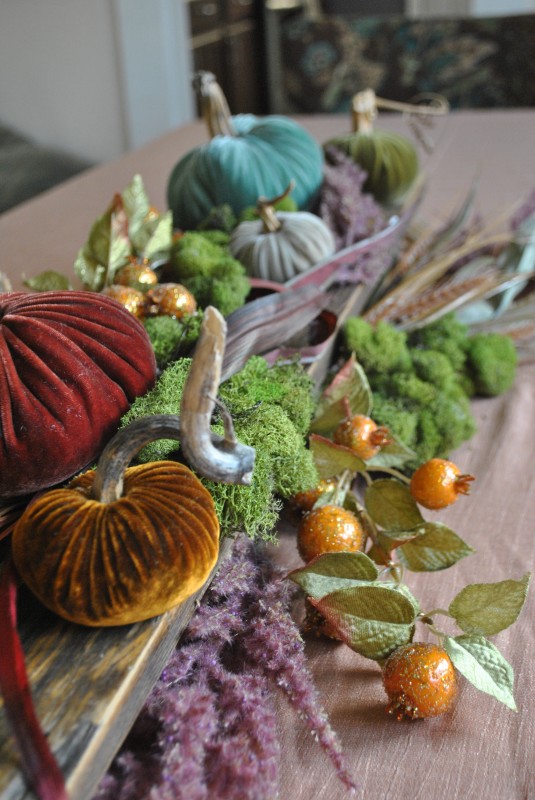
I hunted high and low for real wheat. I had no luck. So, at the end cap at Jo Ann’s Fabric, I found a clearance bin with 70% off. I love to find the gems that others have overlooked. The colors of the foliage were a bit off beat, weird mauve and plastic cream colored wheat. I began to pull the pieces together and went back to grab some glittery golden yellow berries I had passed in another aisle and gathered them all together. I even did a “pre arrangement” on the floor in the store! These branches had just enough of the right texture to lean them towards “wheat”, I knew they would work. (Not to mention, they all matched my outfit!)
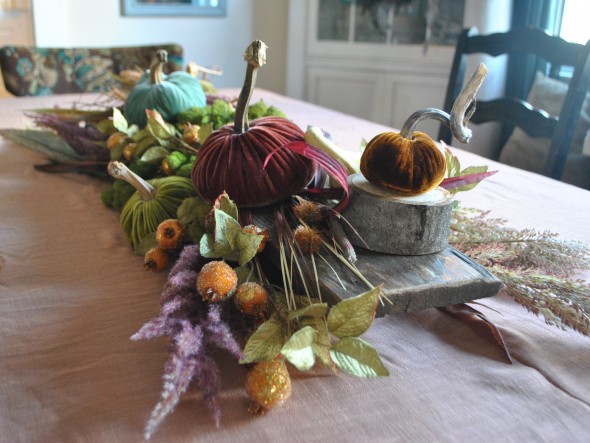
I began to slide them under and around my new wooden table runner.
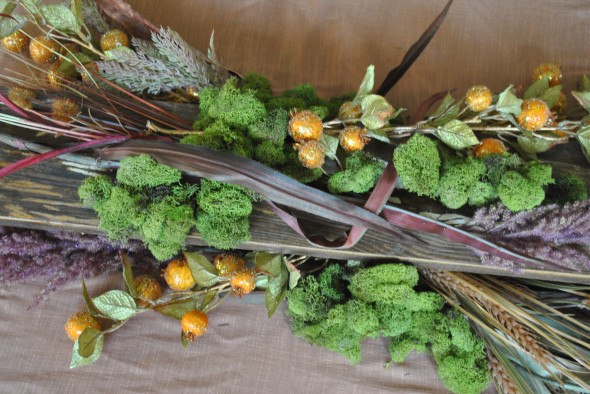
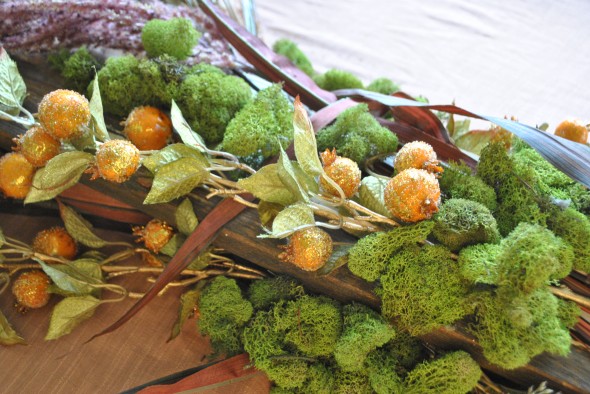
Then I added mounds of green moss to fill in the center gap.
And added Velvet Plush Pumpkins, filling in the spaces.
I’m loving the way my Thanksgiving Table is coming together!
Here are a few tips for creating your own unique centerpiece:
*Find an inspiration piece: a color, a fabric swatch, a plate, a decor item, a picture from a magazine, a piece of nature, an old photograph, a food, an era…anything that you can build a theme around.
*Look for ways to vary the height of your centerpiece: cut branches, clear candle pedestals, small decorative boxes, flat baskets turned upside down, stacks of books, flat stones, tiles, even cardboard boxes draped with fabric. Remember to vary the height, but not so high you can’t see your guests across the table.
*Add different textures and colors: keeping with your theme, gather items that are in the same color hues or that reflect your theme, looking for items that have a mix of soft, hard, organic, round, square textures and shapes. Sometimes taking a picture of a pile of your grouping can help you objectively see if all the pieces go together.
*When putting the centerpiece together, make sure at any angle, the view is beautiful. It’s easy to create a centerpiece with one side looking better than another, but take seat where all of your guests will be and make sure their view is just as unique as yours.
We will be sharing more Thanksgiving Table ideas with you throughout the week! So, stop by tomorrow. And as always, we’d love to hear your tips for creating a beautiful centerpiece…or better yet, share a picture of your centerpiece over on our facebook wall. We’d love to see!

