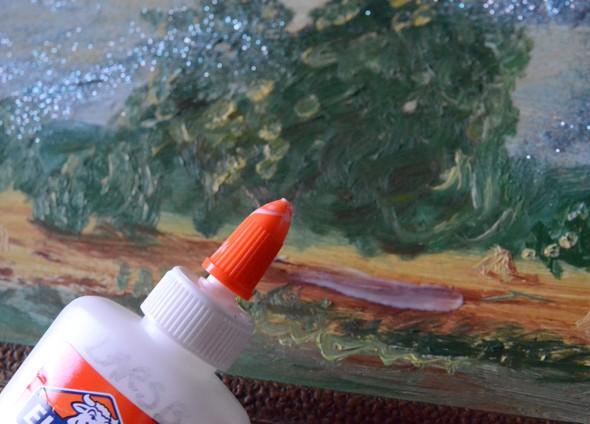
I promised a glitter project last week ~ do you have your glue bottles ready? This is a fun DIY Project that will possibly get you back in touch with your inner finger-painting child. It also a great gift idea or decor idea for the holidays!
I was first inspired to do this project when I purchased a “glitterized” vintage picture at an antique store and bakery over the summer. I found it at “Kathie’s Finds” in Wayzata, MN. I love it so much that I made it the centerpiece of my mantel. Glitterized Vintage Pictures have a kind of “Anthropologie” feel, a little homemade-y, a little sparkly, a little fancy! I thought that it would be super a super easy craft project ~ and it was. There are no rules to glitterizing pictures. Go with your gut ~ glitter where it makes you feel happy! However, I did learn some things that I’ll share as we go.
Start with an impressionistic styled primitive vintage picture. I found this in a thrift store.
Gather some glitter. More is more. Glitter is yet another art item that could lead me down another path of hoarding ~ sort of like ribbons, yarn or fabric has. Glitter can now be added to my list of hoarding propensities. I’m OK with that. I like a full color palate to choose from. It’s like spice bottles. You never know what one you might need. Plus, it makes me happy. I think I mentioned that.
Find a place to work with good light. I choose the floor by my front door. I figured the glitter mess could be quickly vacuumed up. I resisted the urge to buy the fancy special glitter glue at the local craft store, made by the lady who starts with the letter M. Even though I was worried about it, turns out plain ole’ Elmer’s works fine for the is project. 
When my teens came home from school and saw my sprawled out collection of glitter, school glue, and paper towels spread in front of the front door. They were curious. “Is that your new thing?” they asked. “No, really…is this your new thing?” It’s like they were getting ready to begin a glitter intervention. My dog Roxy was not that interested.
Glue and sprinkle and do your thing.
Break some rules. Get dirty. You can use your fingers.
I got this. And, I had to admit. It looked amateur. When you compare it all that amazing other glitter art.
So I consulted with my original amazing glitterized picture from Kathie’s and discovered that I was wrong. More is not always more when it comes to glitter. Less is more. See how she just dabbed a bit here, a bit there. Beautiful. Not overdone.
While the glitter is wet you can still wipe it off.
Go in and make some edits and additions~
But I left some drips for character.
Final project ~ A Glitterized Vintage Picture! A bit of a disclaimer. It is hard to get a good picture of this project. Trust me. The glitterized Vintage Picture looks even better in real life. Really it does. It’s really quite charming.
Simple steps to Glitterizing a Vintage Picture:
l. Find a simple vintage picture. I think a primitive feel works best. There will be enough going on when you add the glitter.
2. Find project work space with good light. So you can be objective about where the glitter is reflecting once you start working.
3. Gather tools: Glue, Glitter, Paper Towels, Vintage Picture
4. Glue, Glitterize, Dry, Shake, wipe and repeat if needed.
Enjoy! You are officially ready to Glitterize!
(This post was shared with other creative ideas over at the blog, Censational Girl & I Gotta Create.)


