May 6

Graduation is coming just around the corner.  For many it is a time of planning, preparation and party throwing.  Last year I seem to remember both Sandy ~ The Reluctant Entertainer and Kristen ~ High Heels And A Hammer were hosting graduation celebrations.  Kristin and I have a year or two before we throw graduation party celebrations.  Just last summer we hosted a party for 16 year old boys.  But, we are happy to gather any tips and ideas for those that have gone before us.

Last May, Kristen ~ High Heels And A Hammer asked me to help decorate for her daughters graduation party.  I was thrilled to help!  And, thrilled my garden was in full spring bloom!


Now, what you may not know, is that Kristen and I have been friends for years.  Our husbands were high school and college friends and Kristin and I were college roommates.  We were both in each others’ weddings and have seen our families grow from babyhood and now the beginning of adulthood.  I’m not going to do the math for you, because I don’t want to blow our cover!  See look!

Mom and daughter on the celebration day~ beautiful!

For the graduation centerpiece we wanted to keep a couple of things in mind ~ beauty, simplicity, sturdiness in the wind (since this was going to be an outdoor event) price and school colors.

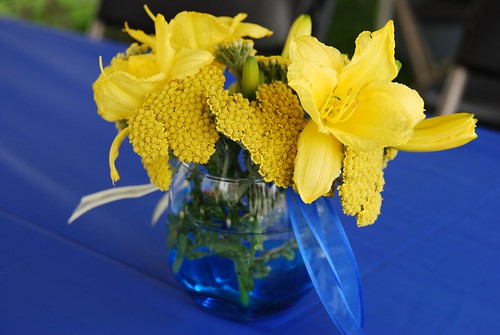
So, instead of buying or renting small vases.  I realized I had these inexpensive wine glass tumblers.  Several years ago I purchased  about 20 of these tumblers for a couple of bucks a piece at Pier One.  They have come in handy for so many events and have been used for desserts, drink and now vases.

Then, I added blue polished glass from my local craft store.  This was to both weight down the tumblers and add a little bit of color.  I added water of course to keep the flowers from wilting.

The school colors were blue and gold.  I cut wired ribbon to hang off the side of each vase.  I folded the cut ribbon and then bent it over the edge.  I didn’t use any adhesive because I didn’t want any tape or glue to show and it stayed just fine.  The ribbon over the edge was a little extra touch that gave a finished effect.

Then, I added only yellow flowers of different shapes and sizes to the vase for a monochromatic arrangement.

The finished centerpiece was simple, sturdy and beautiful and let the most important thing at the table hold the attention ~ friends and family who came to spend time together and celebrate!

Tips for graduation party centerpieces:

1.  Ask a friend with a blooming garden to help.

2.  Choose simple weighted low vases or glasses.

3.  Use garden flowers for a personal touch and to keep expenses low.

4.  Choose a monochromatic colors that highlight school colors or theme.

5.  Add ribbon or simple detail for a finished effect.

Do you have any tips and stories to share for graduation celebrations?  We’d love to have you link up your ideas or share it as a comment with us at our table!

Share and Enjoy:
  • Facebook
  • TwitThis
  • StumbleUpon
  • Technorati
  • del.icio.us
  • Digg
  • Google Bookmarks
  • LinkedIn
  • Live
  • MySpace
  • Twitter
May 5
My Baltimore
Posted by Kristin in Decorating, Our Journey on May 5th, 2011 | Comment Bubble  3 Comments »

BMore

Baltimore.  It’s my city. I was born here.  I moved away many times, only to come back.  My family has a long history here in Baltimore.  My great grandfather was the head of the State’s Road Commission and helped design 695, the beltway around the city, the Harbor Tunnel, and BWI (now Thouroughgood Marshall Airport).  I love the people, the sights, the feeling, the vibe.  It’s a hard city.  It was ranked as the number 11th most dangerous cities in the US last year.  But, there is a feeling of hope emerging that says change is coming.  At least, that’s what my heart hears.  Some days that whisper is a quiet one and hard to discern.  Some days I choose to hear it, willing that voice to be louder.

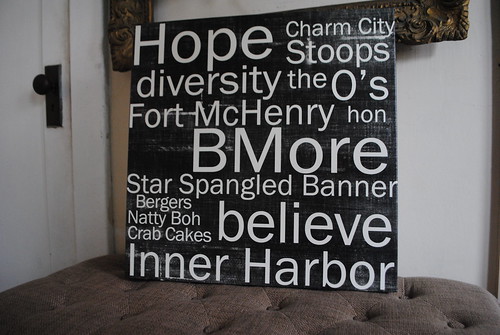
I spent some time with Dee,  from Red Letter Words, and her husband, while I was at Relevant last year.  Somehow we started talking about Baltimore.  I shared with her about the crime, my work with under aged sex traffic victims and the hope I have for my city.  Look what she just sent me.  I love it!

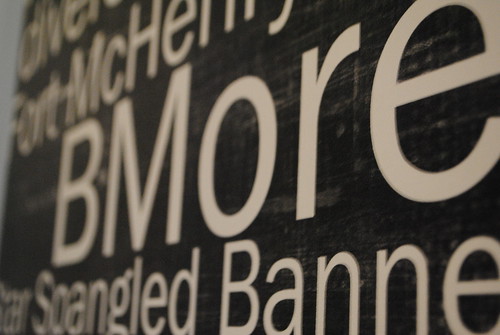
Red Letter Art Baltimore

Not only does it share some of Baltimore’s characteristics and culture, but she laced words of hope throughout the canvas.  Thank you Dee.

Hope

There is also a poem I wanted to share with you, written by a high school art student from  Baltimore School for the Arts.  Aaron is a theater major and has grown up in Baltimore.  He performed this at my son’s 16th birthday party and I had goose bumps.  I’m not the only one who has chosen to believe hope will emerge  in my city.

Goodmorning.

Goodmorning student body I embody everybody.   So when you call me the bomb I call you kamakazes because what makes me is what’s around me my surroundings.    Like if I were my ears all yall would be surround soundings.     But blasting 24/7 would be brothers in front of convenience stores conveniently storaging drugs up their socks as the cops soar.     And that racist 7-11 on harford and glenmore.     Yes I need more but I know what I’m fighting for.      So I close my eyes.     I’m not sleeping.     I’m just dreaming.     I pray 2 god “give me meaning because I am lost.”      Yes I’m lost and confused luck lost too soon.      But I know where I wanna go and I know where I’ve come from.      Even though I feel I can no longer run.     I once heard Sam Cooke say that a change gone come.      My grandmother always whispers in my ear that a change gone come.      So instead of running I walk and strive to keep a steady speed and stare up at the sky at this faceless creed.      I hate to bleed but that’s what I gave just to live out a dream.      So for you to tell me not to dream, don’t fly because I have no wings well that’s obscene because like a crack addict for these dreams I fene.      And I hold all of these dreams in my fist and all of me flows through my wrist and flows out like sierra mist and this fist isn’t pro-black, asian, white or muslim, christian, jew.      This fist is pro-you.      This fist is me too.      This fist represents those clenched jaws and tears choked back.      Or those mornings when you’d wake up and want to throw on a throw back just because it was comfortable.      And that’s the whole meaning of this poem it’s about just being comfortable.     Comfortable enough in your own skin where u know no more walls have to built, no more imaginary stilts, and no more letting your own flowers wilt.      And to those comments that are meant to knock you off your knees like “ugghh who u tryna be.”      I simply respond I’m not trying to be anyone.      I’m just simply being me.      Now would you rather my try to be you while you try to be mtv.”     And u see that’s when they start to sweat like it was some type of imaginary furnace and they’re considering scraping off their own epidermis because they don’t feel like their there temples have been furnished.      And I could turn this love into hate really quickly but in my gut it just don’t sit right because the darkness will consume you in the absence of light and my love goes back past slavery all the way back to mama africa and the fact that it’s still here today that’s the strength of my love.      And how I can love you while you’re hating me that’s the extent of my love.      It goes past arms length of my hugs.      I got these other people wishing that they could have a hint of my love.      So I guess this is my proclomation to say I’m sending love to the populations of people who are facing those obstacles that are amazing.


By Aaron Pashtun

Share and Enjoy:
  • Facebook
  • TwitThis
  • StumbleUpon
  • Technorati
  • del.icio.us
  • Digg
  • Google Bookmarks
  • LinkedIn
  • Live
  • MySpace
  • Twitter
Apr 22

Easter is a wonderful celebration.  We always look forward to a relaxed day of gathering for a lovely meal around the table, Easter egg hunts and family time.  This year, I feel ahead of the game.  My Easter table has been set for a couple of days.  Once I set it to prepare for this post, I thought, why not leave it up?

Spring has not completely sprung here in Minnesota, in fact, we had snow just earlier in the week.  I didn’t want my table to be overly flowery or springy.  It wouldn’t fit in with the not yet green grass.  But, I want my table to be pretty and hopeful for the change of season to come and for the celebration of this time.  I also wanted my table to be special but not too formal.  My inspiration for my table this year came from a couple of places:  the restaurant ABC Kitchen in NYC, natural colors of wood, metal and burlap, vintage plates, my spring Canning Jar Garden project and flowers.

Last August when we attended BlogHer, we had a wonderful time at the table at the London with Laura and Linda and at ABC Kitchen for lunch.  We were all inspired by the blend of modern and vintage place-settings.  I knew I would be saving that vibe for the perfect time.  So, I’ve been on the outlook for the right vintage plates.  I have Kristin’s china of course, but, it’s boxed up ready for her to take back.  Then, I found these.


My Spring Canning Jar Garden project was a perfect natural centerpiece.  I placed them in an old sterling dish I have.  I used natural color burlap fabric for a table runner.

Flowers, some wooden eggs, candles and glasses add to the mix.


How to tips for setting a vintage inspired Easter Table.

l.  Layer a mix of textures, shiny, tarnished, burlap, wood, linen, china, glass all mixed together.

2.  Add low fresh plants, flowers or wheat grass.

3.  Candles, less for an afternoon meal.

4.  Use real napkins, why not?  Your family is worth it.

5.  Layer the plates and mix the styles.  I mixed white modern-shaped plates with the vintage ones.

6.  Add some whimsical, but not silly, tablescaping items for a festive and sophisticated table.  This year I added an cement antique garden bunny and some wooden eggs from the local craft store.

7.  Set your table early so you can enjoy the creative process.

8.  Savor you day and the memories you make around your beautiful table.

What’s inspiring you around your Easter Table?  We’d love it if you’d link up you favorite recipes, stories, tablescaping and Easter celebration ideas at our table!

Share and Enjoy:
  • Facebook
  • TwitThis
  • StumbleUpon
  • Technorati
  • del.icio.us
  • Digg
  • Google Bookmarks
  • LinkedIn
  • Live
  • MySpace
  • Twitter
Apr 15
Fancy Friday~Spring Sprucing Ideas
Posted by Kristin in Decorating, Fancy Friday on Apr 15th, 2011 | Comment Bubble  4 Comments »

Paint is a perfect way to “Spring Spruce” your house!  It’s just paint.  Don’t be afraid to paint a new color in a room of your house and to give it a new look.  Take a gamble.  Go out on a limb and try a color you’ve been thinking about.  Remember, it’s just paint and you can always paint over it.  Start with a stack of paint chips.  We love Benjamin Moore paint.  It can be found at your local paint store.  If you are a Home Depot stalker, Behr is a really good brand too with a better price point.

For many of us, it’s such a challenge to pick a new paint color for our walls.  It’s hard to visualize a little chip of paint color, covering our entire room. Will it be too bright?  Too yellow?  Will it be calming or overpowering?  Will my husband like it too?

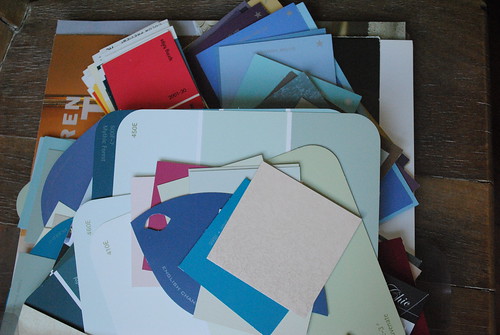
Chris Ann and I have a little fetish with paint chips.  This is a small peek at my stash…

April 11 186

and I know, for a fact, Chris Ann’s stash is bigger than mine!

But, see at any “redecorating” moment, we have total inspiration!  You see, not every green will work in every room…in every house!  Lighting is different.  Furniture is different.  The environment and feel you’re trying to create might be different.

Here’s a trick we learned.

If you want, say purple in a room…put up no less than 10 purple chips of varying hues on a wall in the room you plan to paint.  Watch them…live with them…for a couple of days.  Usually within, five minutes, I have already eliminated a few chips.  They just don’t work.  They may be too cool a color.  Then as I see the sunlight in that room, or darkness settle, I have a better sense of what that color will look like when it is expanded!  Take chips off the wall as they fall out of favor with you!  Then you’ll be left with the one that belongs.


Share and Enjoy:
  • Facebook
  • TwitThis
  • StumbleUpon
  • Technorati
  • del.icio.us
  • Digg
  • Google Bookmarks
  • LinkedIn
  • Live
  • MySpace
  • Twitter
Mar 23
Tablescaping for a Skater Brother
Posted by Kristin in Celebrations, Decorating, LoveBomb on Mar 23rd, 2011 | Comment Bubble  8 Comments »

DSC_0134_01

Last fall we took a him in.  He’s a good kid who had too many curve balls thrown his way.  He needed a break.  We hoped our home would be the break he needed.  Our kids quickly opened up their hearts and rooms to him and let him in.  Little Man calls him his brother.  Drama Boy calls him, “His brother from another mother.”

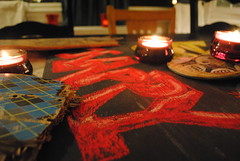
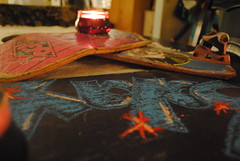
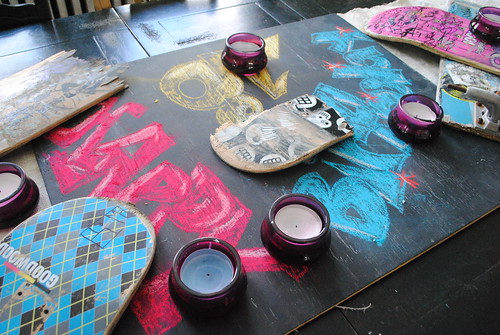
Recently he turned 18.  We helped throw a party for him.  Wanting to honor his passions without belittling him with youthful decorations, I came up with this.

DSC_0121_01

DSC_0123_01 DSC_0131_01

Throughout last year, when we LoveBombed him and his friends at the skatepark, I collected the broken decks.  I have stacks of them under my porch.  We turned some into tables.  But, I have many more ideas in mind…now all I need is a little time.

For his party, I put a piece of chalkboard painted plywood on the center of my table.  In graffiti style, I wrote Happy 18th Birthday.  I just layered broken skateboard decks and put purple votives on top and around them.

DSC_0172_01

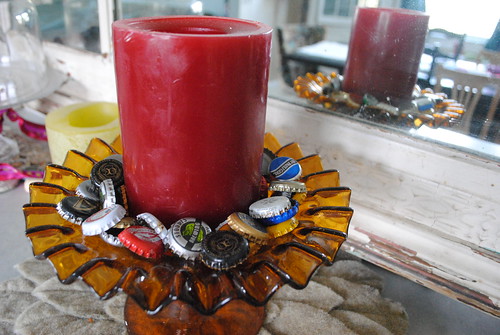
Keeping with an urban theme, I pulled out bottle caps we had and put them around a candle.

DSC_0174_01

Sometimes with tablescaping, less is more.  I wanted to show him we cared about what he cared about, without going overboard and trying too hard.  I wanted the evening to be edited and yet thoughtful.

He requested steak and shrimp.  So, we fired up the grill…

DSC_0154_01 DSC_0157_01

sauteed shrimp with beer and Old Bay…and enjoyed the evening with his family and friends.

DSC_0158_01

Who would’ve thought we’d still be LoveBomb-ing these boys in our own home…welcoming them completely into our lives.  Happy Birthday Brother.

Share and Enjoy:
  • Facebook
  • TwitThis
  • StumbleUpon
  • Technorati
  • del.icio.us
  • Digg
  • Google Bookmarks
  • LinkedIn
  • Live
  • MySpace
  • Twitter
Jan 12
Redecorate Our Bedroom
Posted by Kristin in Decorating on Jan 12th, 2011 | Comment Bubble  5 Comments »

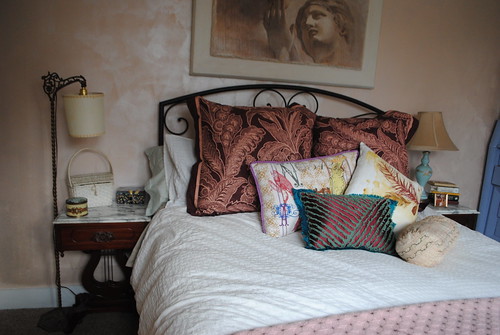
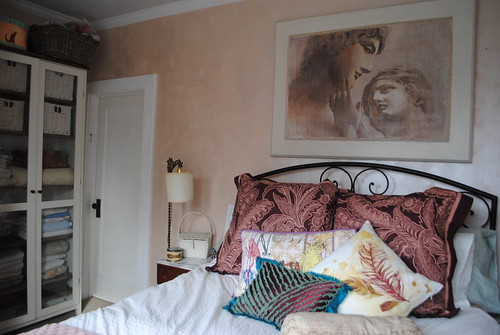
We then moved onto our bedroom!  In our last house, I think we painted every room in the house but our bedroom.  It was looking like this was going to be the case this time too.  But, when we decided to get the carpet put in our room to help insulate (our bedroom is over our garage), we mustered up the strength to throw one more room in the mix of our whole house remodel!

DSC_0099

I’ve had the paint for some time.  I knew I wanted to do a candlelight faux finish.  This painting technique calls for a coat of paint first.  Then a top coat of a metallic pearl, applied with a very thick, nap roller.  The effect is rich and romantic.  Funny thing is…Chris Ann and I both did the same treatment in our bedrooms almost in the exact same shade, not even knowing!

Our bedding was pieced together, just like in our daughter’s room.  If you haven’t figured it out yet, I’m not a matchy-match kinda girl!  The euro shams are from Anthropologie with a bed skirt to match.  The duvet is from IKEA. The quilted blanket is from T.J.Maxx.  The neck roll pillow from Ten Thousand Villages.  The rest of them were found at one of my favorite bargin jaunts, Gabriel Brothers.

Don’t be afraid of mixing and matching patterns and colors from all over the place!  Buy the pieces that make you smile and include the same color palette.  You’ll end up with a one of a kind redesign!

DSC_0101

The bedside tables were passed down to me from my grandfather who passed away this year.  I have vivid memories of these being in my grandparent’s living room.  My family is very Irish and the harp at the base of the tables well, they just feel like they belong in my world!

The tall reading lamp came from Brimfield Antique Market and the robin’s egg blue one, came from my local thrift store for $3.50.  The painting above my bed, that was my first anniversary gift from my husband.

There is more to show…but, I’m still working on the final touches!  I promise to come back with more!

DSC_0100

Share and Enjoy:
  • Facebook
  • TwitThis
  • StumbleUpon
  • Technorati
  • del.icio.us
  • Digg
  • Google Bookmarks
  • LinkedIn
  • Live
  • MySpace
  • Twitter
Jan 10
Daughter’s Room Remodel
Posted by Kristin in Decorating on Jan 10th, 2011 | Comment Bubble  11 Comments »

A couple of months ago, we were wrapping up the remodeling projects on our house….or so we thought!  We were in the middle of laying new hard wood floors in our living room and dining room.

DSC_0125

We were also repainting and making our daughter’s room “more grown up”.  Of course, you start a remodeling project and it’s inevitable you open up Pandora’s Box!  Our flood happened!  All of a sudden we were faced with (almost) an entire house remodel!  We ended up having to redo our entire basement, the entire kitchen and wrap up the living room, dining room and our daughter’s room.  Then of course, since we were having carpet laid, why not just throw in two bedrooms and an office to boot!

I’ve been a bit overwhelmed since the brunt of the work happened between November and December.  I feel like I’m crawling out of an episode of Extreme Home Makeover, minus the crews of people it takes to make magic happen in a few days!  We are breathing now!  I finally have time to sit down and go through the pictures and process what we’ve done!  I want to share!

My daughter’s room was pale pink and shabby chic to the max!  But, as she is hitting those preteen…Taylor Swift playing…Twilight swooning years, she wanted to make her room her own.  I let her pick out the color!

DSC_0114

The pictures don’t do the color justice.  She chose a deep, peacock, turquoise color!  I’ll have to ask House of Turquoise how best to photograph this delicious hue!  It always looks navy to me in the photographs.

It’s deep like the ocean and made her room the perfect backdrop for her panda collection.  The paper lanterns came from World Market.  Her bedspread from Target.  The lime green toile pillow (from Pottery Barn) and the pink floral pillow, were from her shabby chic days.  I love to mix and match patterns and colors!

So does my daughter!! It doesn’t matter how much I try to simplify her room, she loves to vignette!!

DSC_0123

DSC_0116

DSC_0122

DSC_0121

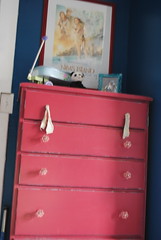
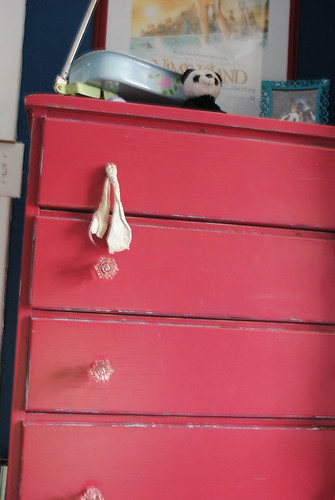
This dresser was bought at Brimfield Antique Market on a weekend trip with my mom.  It use to be white.  A few summers ago, I decided to give it a face lift.   I primed it.  Then I painted it with a deep, turquoise, oil base paint.  I then topped it with coat of  raspberry.  A few days later, after it dried, I sanded the edges to let some of that turquoise come through.  I then took vintage fabric and made the top two pulls.  It’s finished off with pink, glass knobs.

DSC_0115

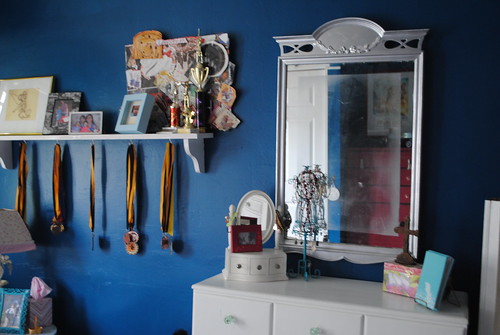
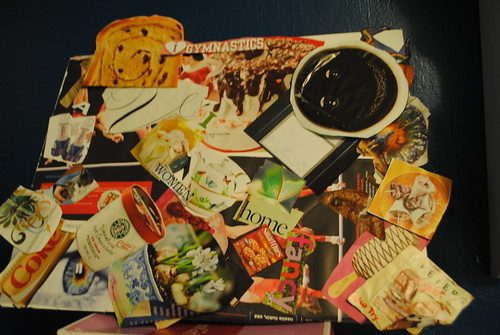
T-Pot is a gymnast.  We took a long shelf and added hooks underneath to display her medals.  Above her shelf is her inspiration board!

DSC_0042

We had so much fun doing this room together!  She loves it and I loved watching the creativity come alive in my girl!  I’d love to hear the creative ways you’ve tackled your kid’s rooms!

Share and Enjoy:
  • Facebook
  • TwitThis
  • StumbleUpon
  • Technorati
  • del.icio.us
  • Digg
  • Google Bookmarks
  • LinkedIn
  • Live
  • MySpace
  • Twitter
Dec 16

DSC_0613

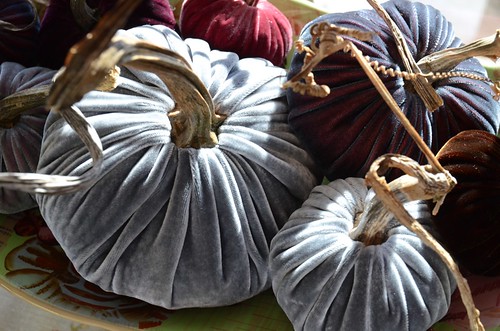
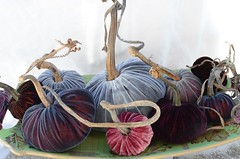
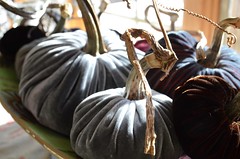
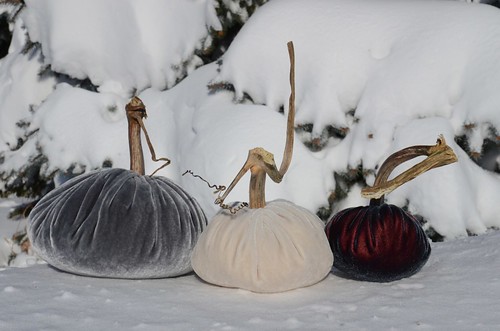
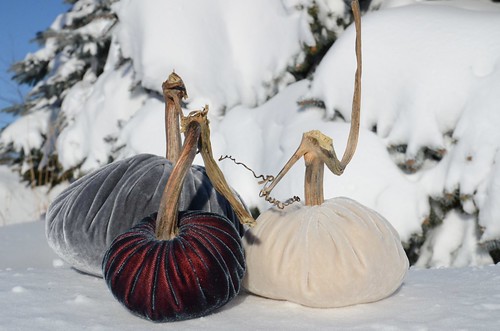
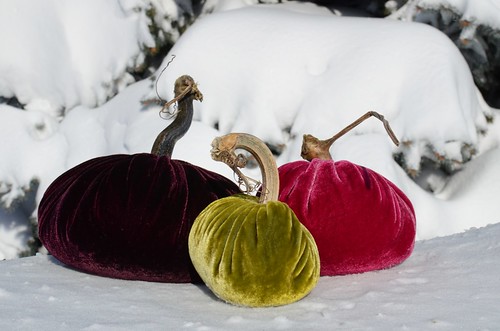
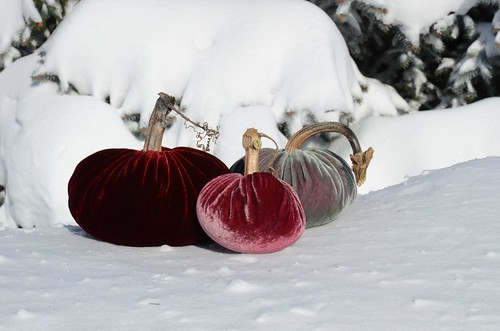
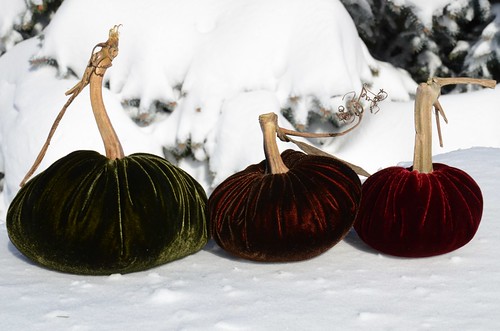
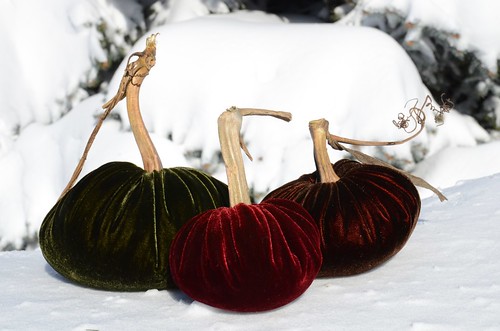
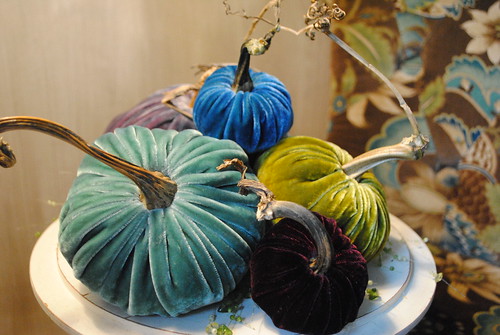
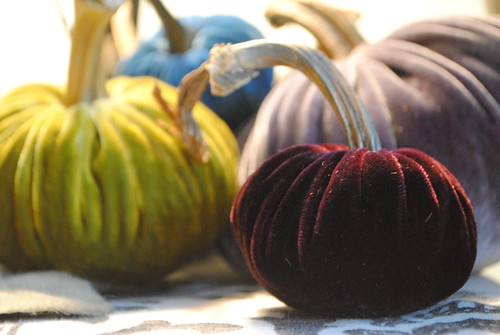
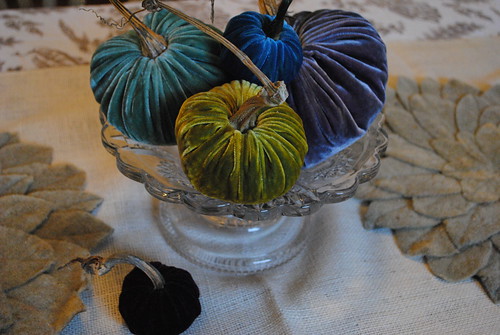
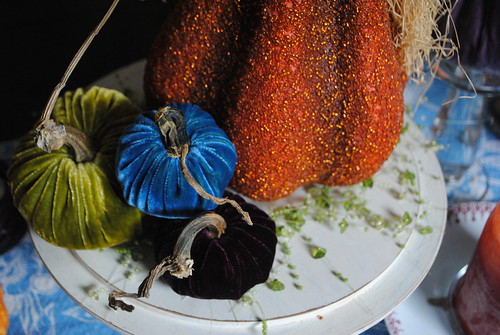
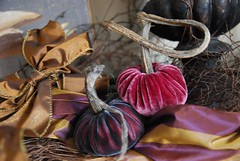
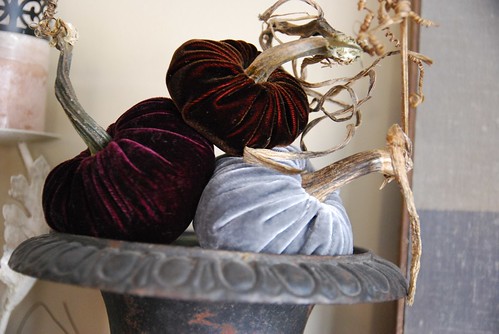
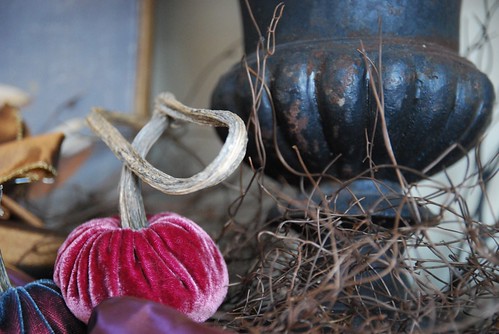
We just can’t get enough of these velvet Plush Pumpkins from our newly launched LoveFeast Shop.  They are perfect for holiday tablescaping.  They would also be lovely mixed in a bowl or platter with ornaments or tucked in on a tabletop.

DSC_0616DSC_0612

We have chosen 4 trios for this season.  The largest velvet pumpkin of the trio is 6″, following with a 5″ and 4″.  The grouping of three sells for $78 with a shipping charge of $12.  We will be selling our trio through Monday, December 20th at 5pm to make sure that they arrive in time for Christmas.

Ice Trio~In colors~Platinum, Snow, Raspberry

DSC_0650

DSC_0652

Funky Holiday Trio~In Colors~Merlot, Hot Pink, Chartreuse

DSC_0643

DSC_0644

Berry Trio~in colors~Merlot, Dew, Pomegranate

DSC_0631

DSC_0634

Traditional Trio~In colors~Forest, Bordeaux, Merlot

DSC_0625

DSC_0627

We think they are the perfect gift for you or someone else!

Making the season special…

DSC_0622

Share and Enjoy:
  • Facebook
  • TwitThis
  • StumbleUpon
  • Technorati
  • del.icio.us
  • Digg
  • Google Bookmarks
  • LinkedIn
  • Live
  • MySpace
  • Twitter
Nov 18
Velvet Pumpkin Center Piece
Posted by Kristin in Decorating on Nov 18th, 2010 | Comment Bubble  3 Comments »

Chris Ann had seen these beauties in real life.

DSC_0009

She’s the one who discovered them and she even brought a few home.   I had pumpkin envy.  But, to be honest, it didn’t last for long!  I ordered my own set.  I went a little “non-traditional” to match my newly (in process of) remodeled dining room.

As some of you know, we have been in the midst of a major renovation after our flood.  Because my life has been in renovation mode, my design bug has been in hibernation mode.  I didn’t plant a single mum…or even make my front porch inviting!  I’ve lacked the motivation.

Until pumpkin envy set in!

DSC_0048

Every year, we make a big Thanksgiving dinner.  It’s one of our favorite holidays!  Devon gets up at the crack of dawn on Thanksgiving morning and begins to cook away!  We usually have many different countries represented around the table.  This year we will have Morocco, Canada and possibly Korea.  I can’t wait!  Ok, back to the pumpkins.

DSC_0028

Thanksgiving will still go on!  (Even though my kitchen will look like this…

kitchen floor

and will be completely gutted the day after Thanksgiving!)  I was determined to let these beautiful, velvet pumpkins be the muse to my center piece.

They arrived and I began to play.

Copy of DSC_0001

When creating a center piece for a meal, there is no right or wrong way!

But, here are some tips:

*When gathering with a Table full of people, try and keep the center piece low, so you can see your guests across the Table.

*Think in layers…layer tablecloth, runners, swatches of textured fabric.

DSC_0023

DSC_0024

DSC_0030

*Make sure pieces on your center piece are different sizes for visual interest.

*Use different textures for interest, like live flowers, greens or gourds with beaded, fabric or metal objects.

DSC_0005

*Think in a color scheme.  This can be as simple as tone on tone colors…or multi colored!  Just try and keep the colors consistent.

DSC_0007

I’m not sure where I’ll land for “THE” Thanksgiving center piece, but I promise to let you know!!

Our friend Gussy has been playing with her Plush Pumpkins today as well!  She has moved them all over her house!  She fell in love with them so much, she’s giving a set away at her blog today… Oh, and did you know…we are in the midst of a Velvet Pumpkin Giveaway too!  (That’s two chances to win a set!!)  Our contest ends tomorrow!  If you haven’t entered to win yet, click here!

If you don’t want to risk it, you can always design your own group of pumpkins and choose colors that go with your Thanksgiving theme! Visit our new LoveFeast Shop!

Share and Enjoy:
  • Facebook
  • TwitThis
  • StumbleUpon
  • Technorati
  • del.icio.us
  • Digg
  • Google Bookmarks
  • LinkedIn
  • Live
  • MySpace
  • Twitter
Nov 17

DSC_0187

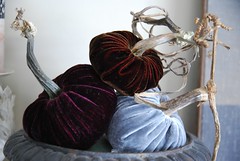
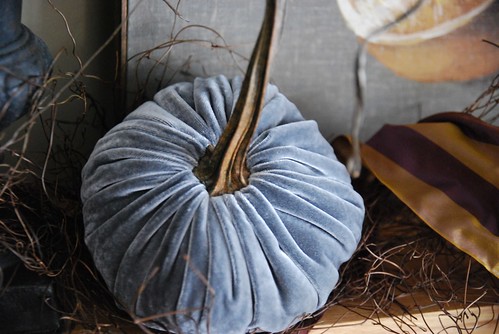
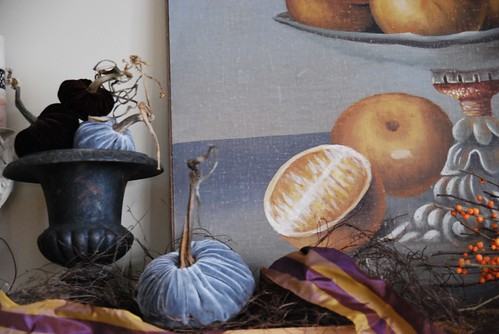
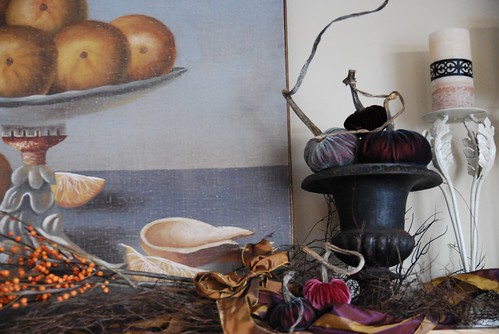
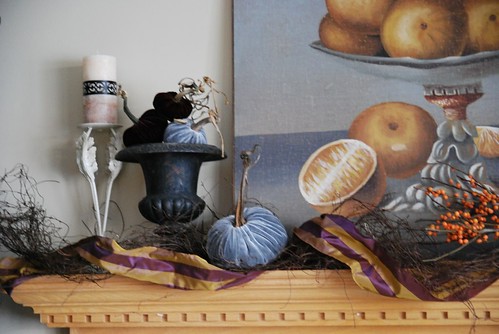
After gathering up my supplies the other day I was fully prepared to “mantel-scape”.  This year I came across what I think is a “find”.  These delicious velvet pumpkins by Plush Pumpkin.

DSC_0166DSC_0155

DSC_0159

This is what I started with, my scaled down freshly dusted simple mantel.

DSC_0113

Then I added some love.

DSC_0184

DSC_0186


DSC_0135DSC_0177

The trompe l’oeil effect of the painting and the pumpkins is kind of fun.

DSC_0182

The newly decorated mantel ended up adding a cozy warmth to my living room, even from afar.

DSC_0180

Our contest to win a trio of Plush Pumpkins will continue through Friday, November 19th, 1pm Central.  You can also purchase beautiful one of a kind Plush Pumpkins from our new LoveFeast shop.  The LoveFeast shop has pumpkins of all different sizes and colors available.  We have a momentary unfix-able typo you may see (if you enter through the tab on our LoveFeast Table website ~ even though it says “shop no” it means “shop now”.  So by all means, go ahead and shop!  Orders from Friday in by 4pm Central will ship in time for Thanksgiving!

Tomorrow Kristin will show her pumpkin table-scaping off~but here’s a sneak peak!!

DSC_0001


Share and Enjoy:
  • Facebook
  • TwitThis
  • StumbleUpon
  • Technorati
  • del.icio.us
  • Digg
  • Google Bookmarks
  • LinkedIn
  • Live
  • MySpace
  • Twitter

« Previous Entries